Step-by-Step Installation Guide To install Unity
Unity is a popular and powerful game development platform used by developers to create a wide range of interactive 2D, 3D, augmented reality (AR), virtual reality (VR), and mixed reality (MR) experiences. Unity is known for its versatility, user-friendly interface, and cross-platform compatibility.
How to Install Unity for Game Development
Step 1: Download the Unity Installer
- Visit the official Unity website at unity.com.
- Click on the “Get Started” or “Download” button to access the download page.
- Choose the appropriate installer for your operating system (Windows, macOS, or Linux).
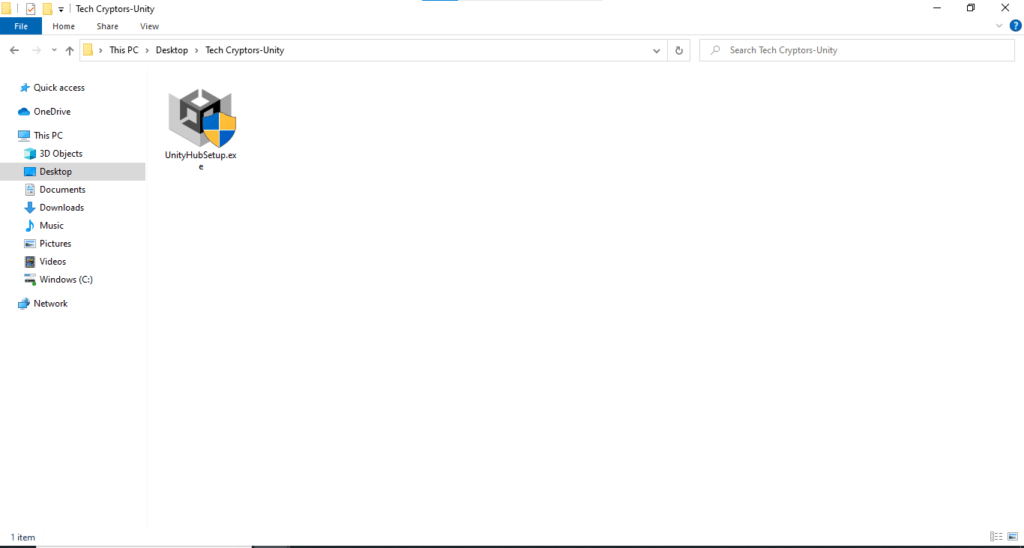
- Locate the downloaded Unity installer file (usually an EXE file on Windows).
- Double-click on the installer file to run it.

Step 2: Accept Terms and Conditions
- Read and accept the terms and conditions presented during the installation process.
Step 3: Installation Process
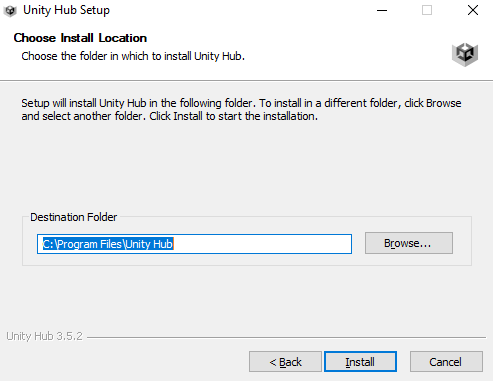
- Click on the “Browse” button to select the folder where you want to install Unity.
- Choose a suitable installation path.
- Once you’ve chosen the installation path, click on the “Install” button to begin the installation process.
Step 6: Finish Installation
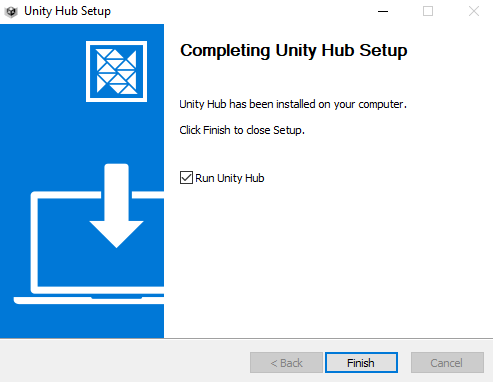
- After the installation is complete, click on the “Finish” button to close the installer.
Step 7: Sign In with Your Google Account
- Launch Unity after installation.
- Sign in with your Google account or create one if you don’t have an account.


Step 8: Agree to Terms and Conditions
- Select the checkbox to agree to Unity’s terms and conditions.
- Click on the “Continue” button to proceed.
Step 9: Choose Unity Version
- Make sure you’ve selected the latest LTS Unity version (e.g., 2022.3.10f1).
- Choose the installation path for Unity Editor.
- Click on the “Install Unity Editor” button.


Step 10: Personal Edition License
- Go through all the page
- Click on “Agree and get personal edition license” button
Step 11: Download Additional Components
- Unity will start downloading the required files. Wait for the download to complete.
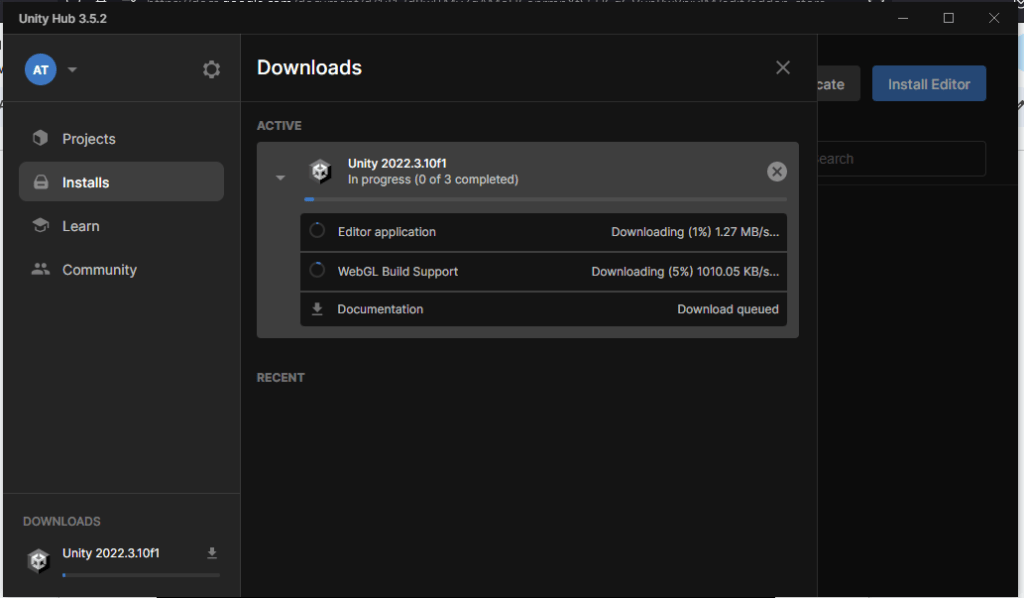

Step 12: Troubleshooting Network Issues
- If you encounter any network issues or connection problems during the download, you can click on the “Reload” button to retry.
Step 13: Installation Completed
- Once the download is finished, Unity will appear in the “Installs” tab.


Step 14: Add Android Build Support
- Click on the “Settings” button.
- Add the “Android Build Support” module.
- Click “Continue” and accept the privacy policy.
Congratulations! You’ve successfully installed Unity for game development. You are now ready to start creating your own games and interactive experiences.
At Tech Cryptors, we believe in hands-on learning. That’s why we’re thrilled to showcase one of our standout projects: “Jungle Run,” a captivating 3D game developed by our team so that students can learn and develop their own 3D games.
But our offerings extend beyond 3D game development. In the rapidly evolving world of technology, we also provide cutting-edge AR-VR courses. Augmented Reality (AR) and Virtual Reality (VR) are transforming industries from gaming to healthcare, and our courses equip you with the expertise to excel in these exciting fields
Discover the Future with our 3D game development and AR-VR Courses:


